Can-Am X3 Clutch Kit Guide: Solving Belt Slip, Heat Issues & Tuning Problems
If you’ve spent any real time behind the wheel of a Can-Am Maverick X3, you know that these machines are absolute beasts, until a clutch issue cuts the fun short. Whether you’re bombing across the dunes, crawling over rocks, or powering through muddy trails, your Can-Am X3 clutch kit is the heart of your UTV’s performance. But here’s the truth, clutch kits aren’t “install it and forget it” parts. Belt slip, heat build-up, poor backshift, and incorrect helix or spring choices can all tank your ride’s power and reliability.
This guide breaks down the most common Can-Am X3 clutch kit problems, explains how to fix them, and shares pro-level tuning tips so you can ride harder, longer, and with fewer breakdowns.
Understanding Can-Am X3 Clutch Kit Fundamentals
Before you can fix problems, you need to understand what’s going on under the hood, or in this case, under the clutch cover.
How X3 Clutch Systems Work
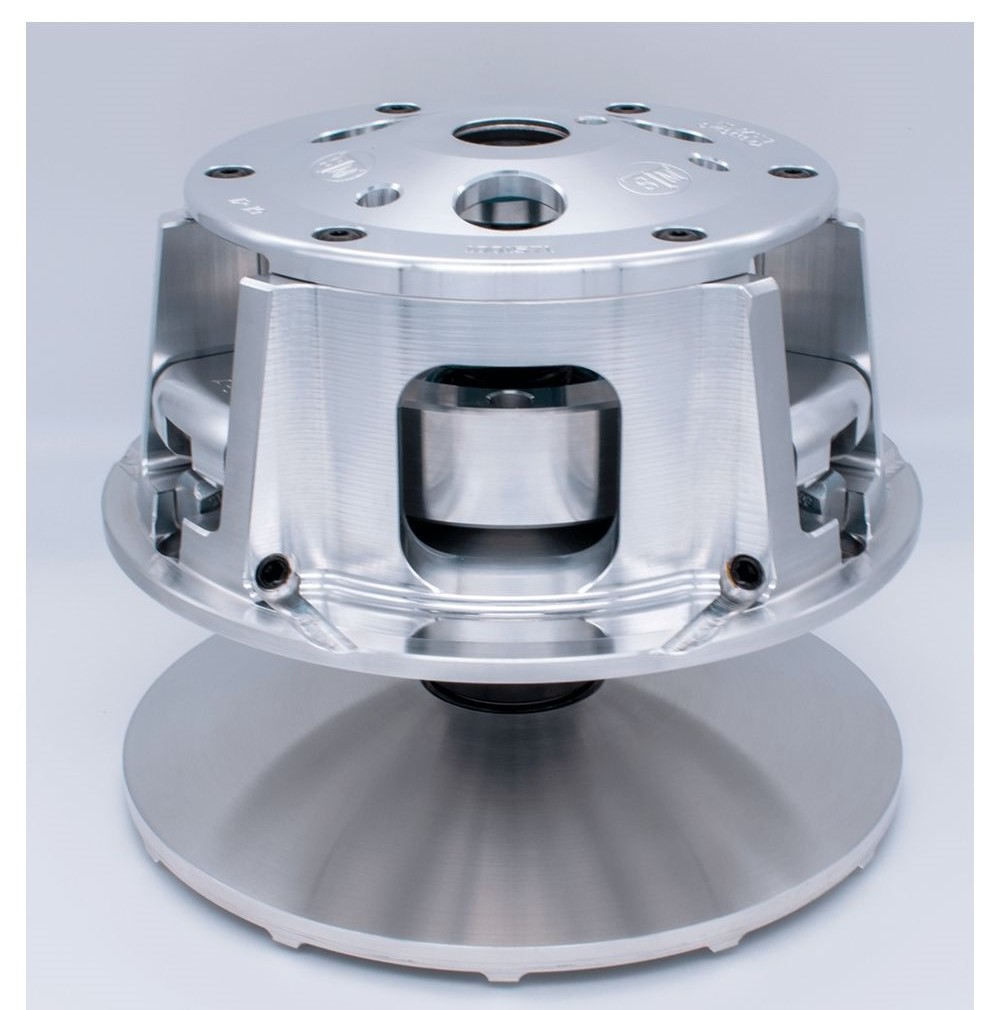
The Can-Am X3 uses a CVT (Continuously Variable Transmission) with a primary and secondary clutch. The Can-Am X3 clutch kit modifies how these clutches engage, shift, and backshift based on your RPMs and load. The primary clutch controls belt grip and engagement, while the secondary clutch manages belt tension and backshifting. Together, they keep your engine in its powerband whether you’re blasting at high speed or crawling over obstacles.
Common X3 Clutch Kit Components
A typical performance clutch kit includes:
- Primary springs
- Flyweights
- Helixes
- Secondary springs
- Clutch shims and spacers
- Belt alignment tools
Each component influences RPM, acceleration, and belt life, meaning the wrong combination can create more problems than it solves.
Solving Belt Slip at High RPM and Glazing Issues
Few things are more frustrating than an X3 belt slip high RPM issue, especially when you’re pushing your machine to its limits.
Identifying X3 Belt Slip Symptoms
Common signs include:
- Sudden RPM spikes without a matching speed increase
- Burnt rubber smell from the clutch housing
- Belt dust build-up on clutch sheaves
- Shiny (glazed) belt surfaces
If ignored, a belt slip leads to premature wear and eventual failure.
Proper Belt Alignment Techniques
Misalignment is a top cause of Can-Am X3 belt glazing and slip. Use a precision belt alignment tool to measure the offset between the primary and secondary clutches. Even a fraction of a millimeter off can cause belt edges to wear unevenly.
Tips:
- Always torque clutch bolts to spec
- Check alignment after every major service
- Inspect motor mounts for movement that could affect alignment
Correct Spring and Weight Setup for High RPM
If your clutch engages too early or holds RPMs too high, you may need a stiffer primary spring or heavier flyweights. The goal is to keep your engine in peak power without over-revving, reducing belt slip and extending belt life.
X3 Heat Management with Oversized Tires (32-35")
Switching to Can-Am X3 32-inch tires, clutch setups can be game-changing for traction and clearance, but it also increases load and heat.
Heat Issues with 32-35 Inch Tires
Larger tires demand more torque, which forces your clutches to work harder. Without proper tuning, this generates excessive heat inside the clutch housing, breaking down belts and causing glazing.
Paddle Tire Heat Management Solutions
X3 paddle tire clutching requires even more attention to cooling, since sand loads the drivetrain heavily.
Pro tips:
- Install a clutch housing vent kit for better airflow
- Use high-heat rated belts
- Drop gearing where possible to reduce strain
Extending Belt Life in High-Heat Conditions
Here’s where Can-Am X3 belt life tips come into play:
- Carry spare belts
- Avoid holding full throttle for extended periods in deep sand or mud
- Let the clutches cool between hard runs
- Clean sheaves regularly to remove belt dust
Helix and Spring Selection: Dunes vs Rocks Terrain
One of the most overlooked parts of Can-Am X3 clutch tuning is matching your helix and spring setup to your riding terrain.
Optimal Helix Choices for Dune Riding
For high-speed sand runs, a shallower helix angle allows smoother upshifting and keeps RPMs stable under heavy loads. Pair this with a medium-rate secondary spring for balance.
Rock Crawling Spring and Weight Setup
Rock crawling benefits from a steeper helix and softer secondary spring to improve low-speed torque and throttle control. This setup helps prevent belt slip in technical climbs.
Fixing Low-Speed Chatter Issues
If you experience Can-Am X3 low-speed chatter, it may be due to overly aggressive engagement settings. Dropping engagement RPM and softening the primary spring often smooths things out.
Advanced X3 Backshift Tuning Techniques
Backshift tuning is all about how quickly your clutches react when you drop the throttle and then reapply it.
Understanding Backshift Mechanics
Backshift happens when the secondary clutch shifts back down to a lower ratio, allowing RPMs to rise quickly again. Poor backshift results in X3 RPM hunting fix scenarios, where the machine can’t decide which gear ratio to hold.
Tuning for Different Riding Styles
For aggressive trail riding, use a stronger secondary spring to snap back faster. For dunes, a balanced spring and helix combo prevents over-revving between throttle blips.
Professional X3 Clutch Kit Installation Tips
Many riders struggle with X3 clutch kit installation because of skipped steps or incorrect torque specs.
Tools and Equipment Needed
- Clutch puller tool
- Torque wrench
- Belt alignment gauge
- Primary/secondary clutch holding tools
- Blue thread locker
Step-by-Step Installation Process
- Remove the clutch cover and old belt
- Use a clutch puller to remove the primary
- Install new springs, weights, and helix as per kit instructions
- Reassemble with thread locker and torque to spec
- Verify belt alignment before test riding
Maintenance and Troubleshooting Your X3 Clutch Kit
No clutch setup stays perfect forever, especially on a machine that gets worked hard.
Regular Maintenance Schedule
Follow an X3 clutch maintenance schedule that includes:
- Belt inspection every 500 miles
- Clutch cleaning every 1,000 miles
- Bearing lubrication as needed
- Spring and weight inspection annually
Common Problems and Quick Fixes
- Belt Glazing: Sand with Scotch-Brite pad and check alignment
- RPM Hunting: Adjust weights or secondary spring preload
- Overheating: Add ventilation and check for proper belt deflection
- Slow Backshift: Swap to a steeper helix or stiffer secondary spring
- Low Power at Speed: Check for belt slip, worn weights, or dirty sheaves
Why Getting Clutch Tuning Right Matters
A poorly set-up clutch can rob you of horsepower, shred belts, and even cause engine overheating. Whether you’re dialing in an X3 dunes vs rocks clutch setup, experimenting with an X3 clutch weight spring combo, or chasing Can-Am X3 performance clutching goals, taking the time to get it right means more miles of trouble-free fun.
Maximize Your Can-Am X3 Clutch Kit Performance – Contact Us Today
Your Can-Am X3 clutch kit is more than just an upgrade, it’s the performance link between your engine and the terrain. Addressing belt slip, fine-tuning helix and spring combos, managing heat from oversized tires, and staying on top of maintenance will keep your machine running at its best. Whether you’re blasting across dunes, crawling over boulders, or tearing through trails, the right tuning transforms your ride.
If you need expert help with your Can-Am X3 clutch kit, from problem diagnosis to professional installation, contact us at Dig Rig Powersports today. We’ll help you get every ounce of performance your X3 was built to deliver.
-
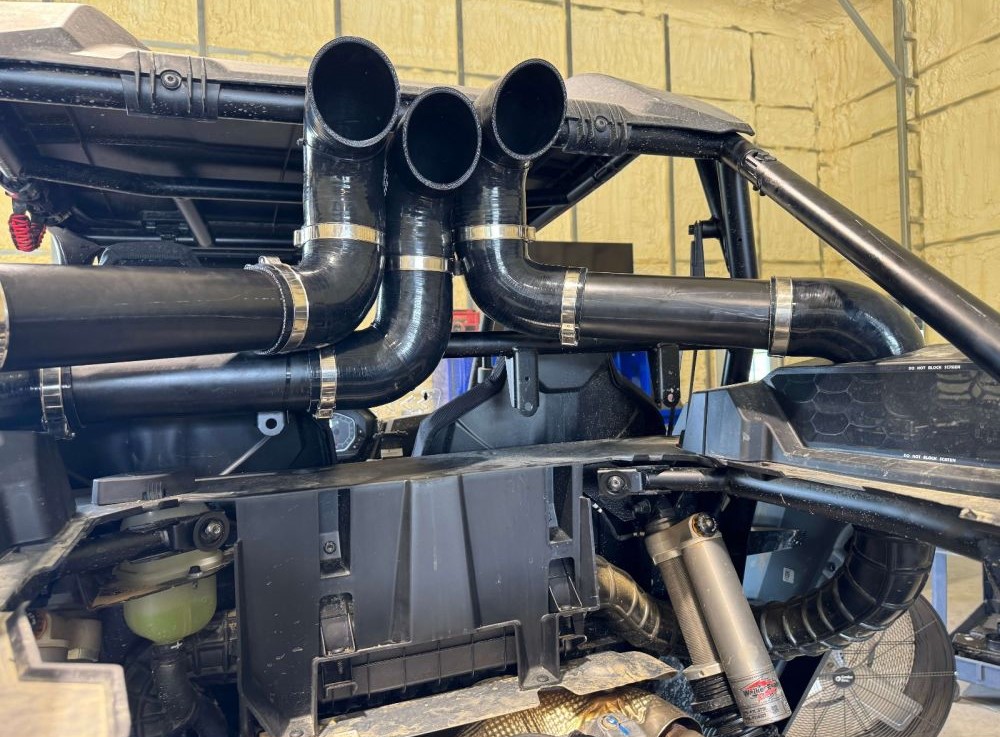
Can-Am CVT and Snorkel Maintenance Guide
 December 22, 2025
 -
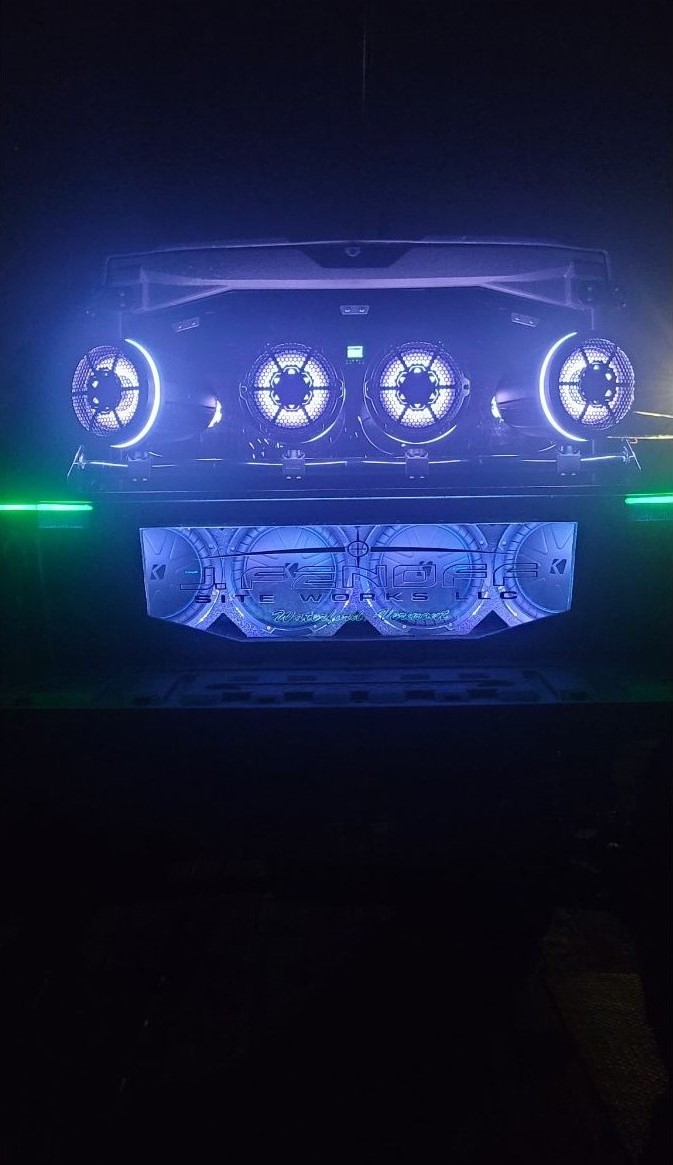
Can-Am Defender Subwoofer Box Guide: Waterproofing, Fitment & Vibration Solutions
 December 16, 2025
 -
Honda CR-V Alternator
 December 15, 2025
 -
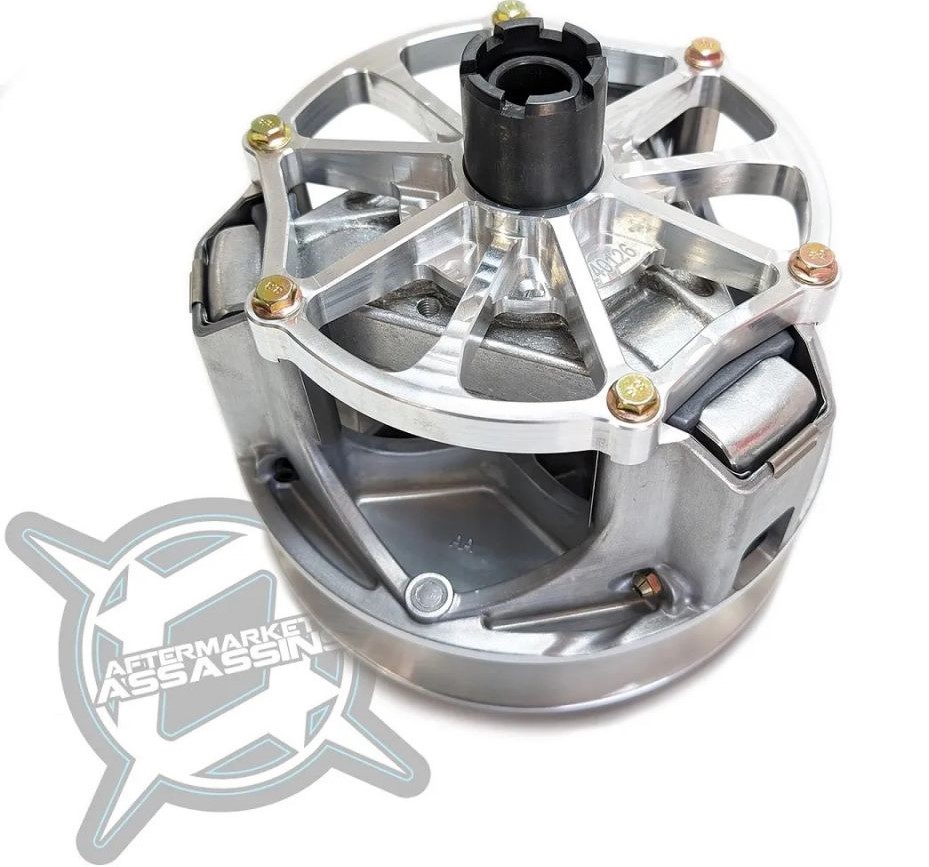
Aftermarket Assassins Primary Clutch Review: Billet vs Weight Kits Performance Analysis
 December 8, 2025
 -
How to Diagnose Electrical and ECU Problems in Your Can-Am
 December 3, 2025