Can-Am Trailing-Arm Conversion Kits: What to Know Before You Upgrade
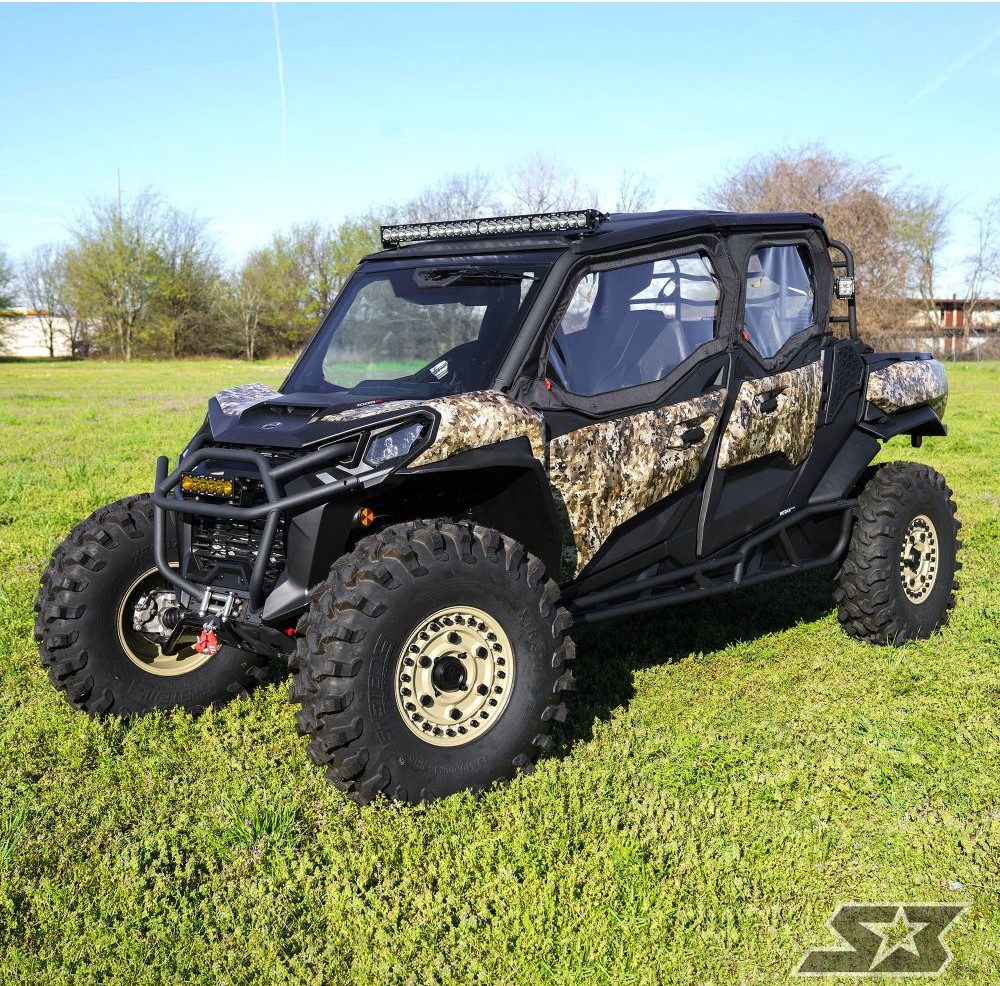
If you’ve been pushing your Can-Am for serious rides—mud, trails, rocks—you’ve probably hit a point where the stock suspension just doesn’t cut it anymore. That’s where a Can-Am trailing arm conversion starts making sense. Whether you're rolling in a Defender or a Commander, a trailing-arm swap can totally change how your machine handles, flexes, and takes on the terrain. Let’s break down what this upgrade is all about and why it might be your next smart move.
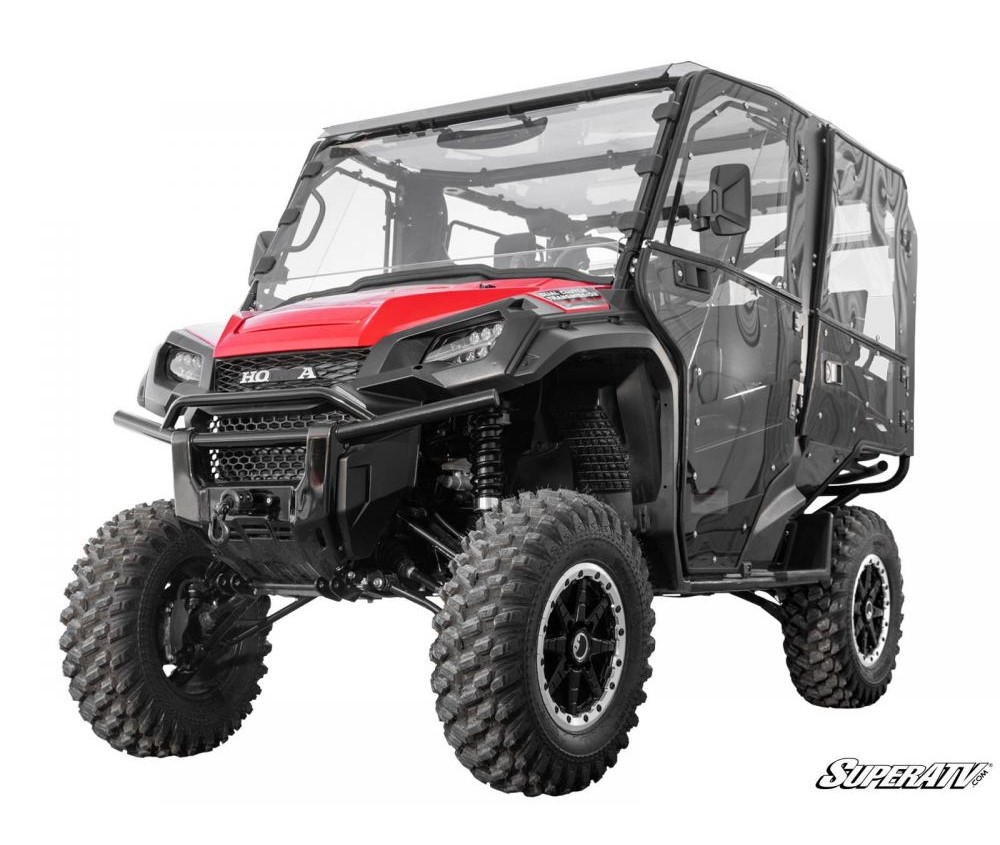
Defender vs Commander: Which Kit Fits What?
Let’s clear this up right away—Can-Am trailing arm conversion kits are not one-size-fits-all. The Defender and Commander each have their own frame setups, so the kits are built specifically for each.
The defender trailing arm kit is usually more rugged, made for utility riders who haul gear or ride heavy.
The Commander kits are tuned more for performance—lighter, more flexible, and great for sporty handling.
Swapping parts between the two? Not really a thing. The geometry's different, and trying to force it might leave you more frustrated than upgraded.
Can-Am Long Travel Suspension: Worth the Extra Miles?
Pairing your trailing-arm upgrade with a Can-Am long travel suspension setup is a serious game-changer. It's not just for racers or desert riders either—it works wonders in the woods, mud, or dunes.
- A wider stance for more stability
- Better shock absorption on jumps and rough landings
- A smoother ride even when you're going full send
If you're already going for the Can-Am trailing arm conversion, adding long travel suspension isn’t overkill—it’s actually the next logical step.
What’s the Deal With Ball-Joint Deletes?
Let’s be real—stock ball joints are usually the first thing to go when you start driving harder than your machine was meant for. That’s why more and more people are going with ball-joint delete setups as part of their conversion.
Instead of a weak point that can pop or wear out, you're replacing it with something solid, like a uniball, that just takes more abuse. If you like riding with confidence (and not worrying about snapping something mid-ride), it’s a solid upgrade.
Don’t Skip the Wheel Offset and Portal Talk
Here’s something folks overlook: wheel offset. When you're installing a Can-Am trailing arm conversion, you’re adding width, so your wheels need to match up. Running stock offset wheels just won't give the clearance you need. A +4 or +5 offset usually does the trick.
If you’re running portal gearboxes, make sure your kit supports the added width and spacing. Not every kit plays nice with 6" portals. Getting one that’s built to handle them will save you a ton of headaches.
Ready to upgrade your ride?
If you’re putting time and money into upgrading your rig, a Can-Am trailing arm conversion is one of the smartest moves to make. Whether you're chasing more clearance, better flex, or just want your ride to feel bulletproof, this upgrade delivers—especially when it’s matched with a defender trailing arm kit or Can-Am long travel suspension.
If you're looking for gear that's been built and tested by riders who actually get it, check out the lineup at Dig Rig Powersports. Got questions? Contact us today—we’re here to help you get your build dialed in.
-
Can-Am CVT and Snorkel Maintenance Guide
 December 22, 2025
 -
Can-Am Defender Subwoofer Box Guide: Waterproofing, Fitment & Vibration Solutions
 December 16, 2025
 -
Honda CR-V Alternator
 December 15, 2025
 -
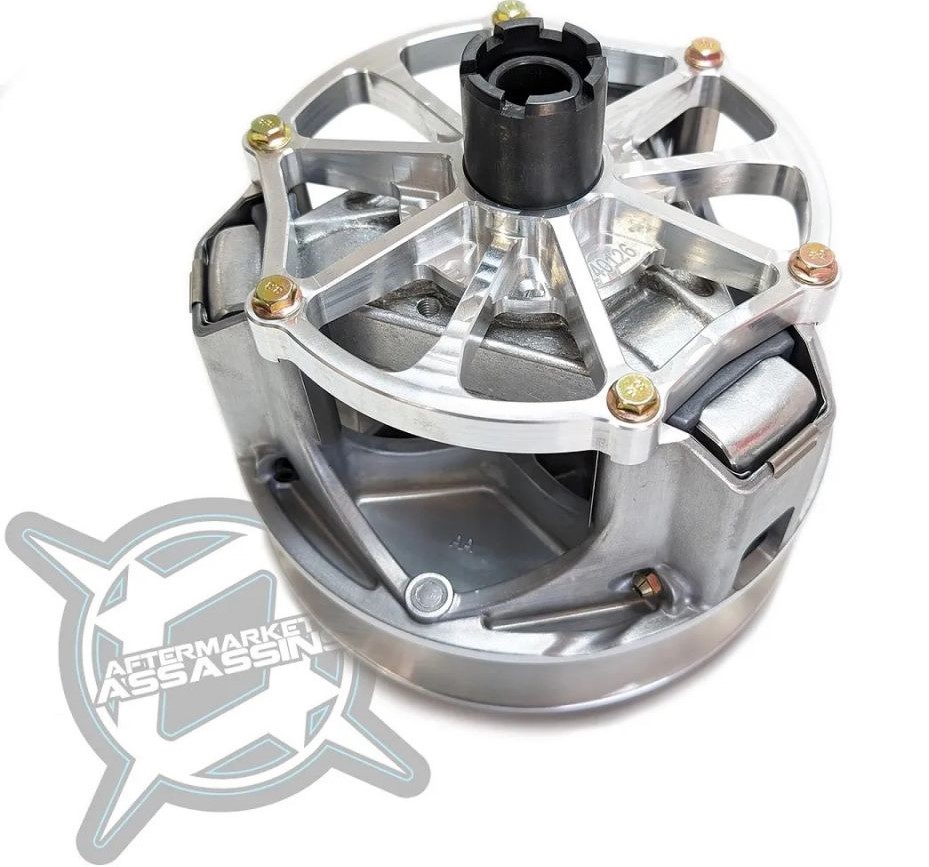
Aftermarket Assassins Primary Clutch Review: Billet vs Weight Kits Performance Analysis
 December 8, 2025
 -
How to Diagnose Electrical and ECU Problems in Your Can-Am
 December 3, 2025