Can-Am Defender Subwoofer Box Guide: Waterproofing, Fitment & Vibration Solutions
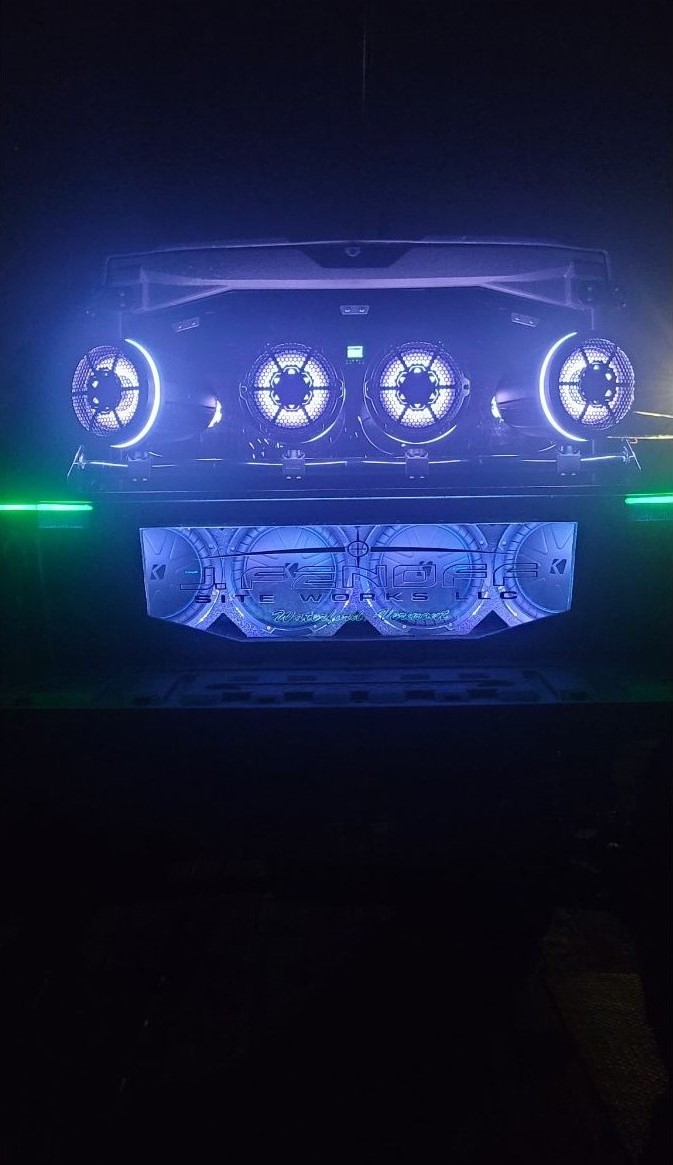
If you ride hard in your Can-Am Defender, you know that music makes the mud, trails, and creek crossings even better. But setting up a sound system that can handle the punishment of water, dust, and vibration isn’t as simple as dropping in a car stereo. The Can-Am Defender subwoofer box is at the center of every serious UTV audio upgrade, and choosing or installing the wrong one can leave you with rattles, fried amps, or a speaker that drowns the second you splash through a creek.
In this guide, we’ll break down everything you need to know, from waterproofing under-seat boxes to comparing 10" vs 12" fitment, eliminating vibration, analyzing power draw, and protecting your system from mud intrusion.
If you want your Can-Am Defender subwoofer box to sound great, last long, and survive the wild, you’re in the right place.
Understanding Can-Am Defender Audio Challenges
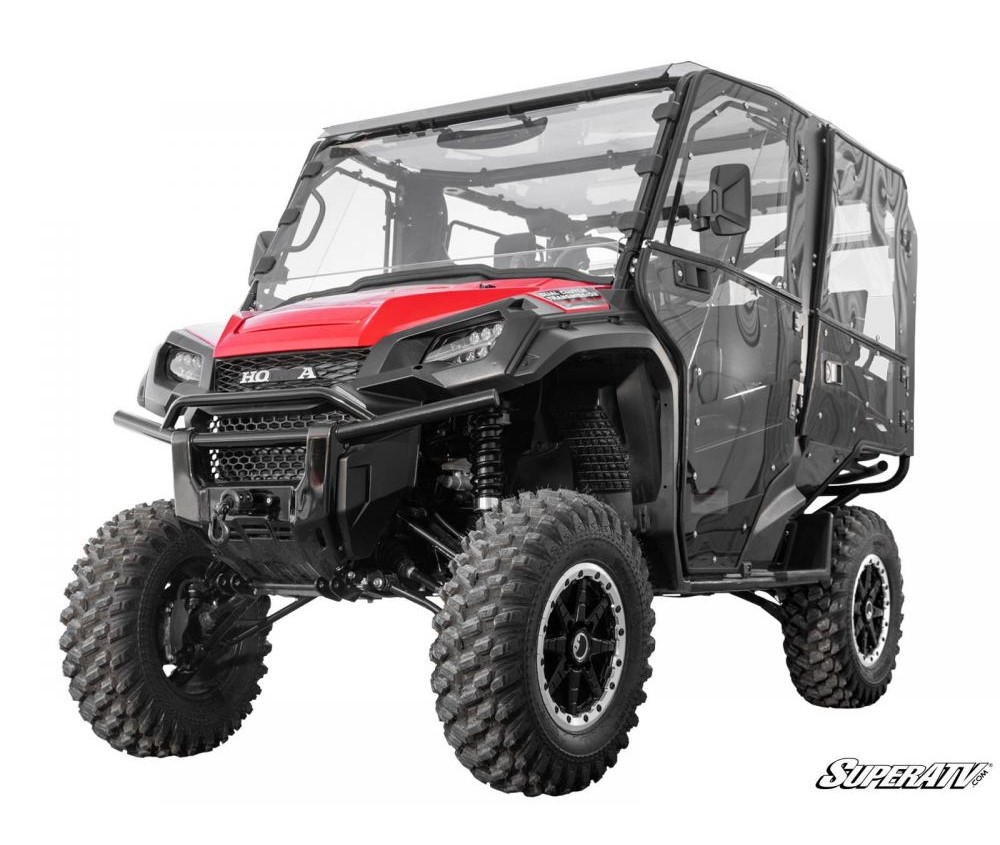
The Can-Am Defender isn’t just a weekend toy, it’s a rugged workhorse built for mud runs, creek crossings, and long days in tough terrain. That same toughness, however, creates unique challenges for anyone trying to upgrade their audio system. What works in a car rarely survives in a UTV environment, and a Can-Am Defender subwoofer box has to be engineered with these realities in mind.
Why Standard Car Audio Solutions Fail in UTVs
Car speakers aren’t designed to handle constant vibration or the pounding shocks of trail riding. Standard cones quickly deteriorate when exposed to dirt, water, and mud. Worse yet, car subwoofers can’t withstand a Defender under-seat subwoofer flooding, which is a real risk every time you cross water. Paper cones and unsealed enclosures rot out fast, and electrical demands from oversized amps often exceed the Defender’s stator capacity, leading to power issues.
Defender-Specific Installation Considerations
Installing audio in a Defender takes more planning than in most UTVs. Factory Defender speaker box mounting points vary by model year, so one-size-fits-all solutions rarely work. Space under the driver’s seat is tight, usually requiring smaller setups, while the passenger side offers more room. Rear bench installs allow larger enclosures but may require Can-Am Defender subwoofer trimming to achieve a proper fit.
With these challenges in mind, the right planning and equipment make all the difference in building a system that performs and lasts.
Waterproofing Under-Seat Subwoofer Boxes After Creek Crossings
When you ride a Defender, creek crossings and water holes are part of the fun, but they’re also the number one enemy of your audio system. A poorly sealed Can-Am Defender speaker box water seal won’t last long; it’ll take just one deep splash to flood the enclosure and silence your bass. That’s why waterproofing under-seat subwoofer boxes is one of the most critical steps in any audio upgrade.
Common Water Entry Points and Prevention
Water doesn’t need much of an invitation. It sneaks in through wire pass-throughs, seeps through unsealed seams on prefab boxes, and corrodes subwoofer terminals if left exposed. The fix? Marine-grade caulk around seams, rubber grommets for wires, and weatherproof terminals that keep connections dry even after a soaking.
Effective Sealing Techniques That Preserve Sound Quality
Here’s the catch, waterproofing doesn’t mean choking off airflow. The goal is to seal gaps while still allowing proper acoustic venting. Silicone sealant works well if applied internally, but take care not to clog the box’s ports. A clean seal keeps water out while letting bass breathe.
Drainage Solutions vs Complete Waterproofing
Some riders fight water intrusion by embracing it. Strategic Defender subwoofer box drainage holes at the lowest point allow water to escape rather than pool. This method is especially effective for mud-heavy rides where complete waterproofing is nearly impossible.
Venting Strategies to Prevent Condensation
Even in sealed boxes, condensation builds up over time. Using Defender speaker box venting with fine mesh filters prevents moisture accumulation while keeping out mud and debris.
With the right prep, your subwoofer box will survive creek crossings and keep the beats pounding through every splash.
Subwoofer Fitment by Seat Location: 10" vs 12" Analysis
One of the most common questions during a Can-Am Defender subwoofer box install is: “Should I go with a 10-inch or step up to a 12-inch?” The answer depends heavily on where you’re mounting the subwoofer, because the Defender’s seating layout creates very different space limitations.
Driver Seat Under-Mount Clearance and Limitations
The driver’s seat is the tightest spot in the machine. While you might dream of stuffing a 12-inch subwoofer under there, the reality is that clearance is limited. A 10-inch subwoofer is usually the maximum practical size without sacrificing seat integrity. Trying to go larger typically means heavy Defender subwoofer trimming, which can compromise stability and isn’t ideal for long-term durability.
Passenger Seat Space Advantages and Considerations
Now slide over to the passenger side, and things get more flexible. With more clearance and fewer structural obstructions, the passenger side is where most riders successfully achieve a Defender 10-inch vs 12-inch subwoofer fit. If you’re looking for deeper bass response and can handle the added power demands, this is where a 12-inch subwoofer shines.
Rear Seat Installation Without Trimming Requirements
For those running a crew cab, the rear bench is the ultimate location. You’ll often have room for larger enclosures or even dual subs. The only catch is that some setups require seat-lift kits. On the plus side, you gain easier Can-Am Defender speaker installation access and plenty of airflow.
Measuring and Template Creation for Perfect Fit
Before cutting any wood or ordering a custom box, create a cardboard or MDF template. This ensures accurate Can-Am Defender subwoofer box sizing for your trim level and avoids costly mistakes.
Eliminating Rattles and Vibration Issues
Let’s be real: a UTV isn’t exactly a quiet ride. Between the engine, suspension, and terrain, the Defender produces constant vibration, and your audio system feels every bit of it. Without proper planning, your setup will eventually suffer from Can-Am Defender subwoofer rattles and unwanted buzzing that ruin the listening experience. The good news? With the right installation techniques, you can isolate your subwoofer box from the worst of it.
Optimal Mounting Points for Vibration Isolation
Always take advantage of factory Defender speaker box mounting points whenever possible. These locations are built to handle load and stress, meaning your box will flex less and stay secure even on punishing trails.
Fastener Selection and Torque Specifications
Bolts may seem simple, but they’re often the weak link. Use stainless-steel hardware paired with lock nuts to resist loosening. Tighten them to the proper torque specifications so they don’t back out during extended rides.
Isolation Materials and Dampening Techniques
Add layers of protection between your box and the machine itself:
Closed-cell foam beneath brackets
Sound-deadening mats along seat bases
Rubber washers at stress points
Together, these materials reduce vibration transfer and help eliminate Can-Am Defender speaker buzzing before it starts.
Troubleshooting Persistent Buzzing Problems
If you’ve done it all and still hear buzzing, don’t panic. Double-check for loose wiring harnesses brushing the enclosure, amplifier brackets vibrating against bare metal, or cracks inside the box itself. Fixing these small issues often makes a huge difference.
With these steps, your bass will stay clean and rattle-free, no matter how rough the ride gets.
Power Requirements vs Stator Output Analysis
When most riders plan an audio upgrade for their Can-Am Defender, the first thought is always about bigger bass, louder speakers, or a sleek new Can-Am Defender subwoofer box. But here’s the catch, none of it matters if your electrical system can’t keep up. Your stator, the Defender’s built-in power plant, is like the heart of your system. Push it too far, and you’ll be left with dim lights, drained batteries, and distorted sound.
Can-Am Defender Electrical System Limitations
The stock stator has a very real limit. Once you cross that line, your system can’t deliver enough juice, and the result is Can-Am Defender audio clipping or, in extreme cases, a machine that won’t start at all.
Amp Draw Calculations and Safe Power Limits
That’s why every upgrade should start with math. Take the RMS draw of your amp and compare it to the Defender amp power draw stator rating. The golden rule? Never use more than 80% of the stator’s capacity. That way, your sub pounds hard without draining the lifeblood of your machine.
Preventing Clipping with Factory Head Units
Factory head units aren’t perfect, they often send unstable voltage at high volume. Adding a line driver or signal processor smooths the signal, preventing Can-Am Defender audio clipping when you really crank it.
Alternator Upgrades and Auxiliary Battery Options
Dreaming of a system that shakes the woods? That’s when it’s time to look at alternator upgrades or add an auxiliary battery. These upgrades safely push your setup past the standard Can-Am Defender audio power limits, giving you volume, clarity, and the peace of mind that your Defender still fires up after the ride.
Mud Intrusion Protection for Ports and Drivers
Ask any Can-Am Defender owner who rides deep trails. the mud is no joke. It’s not just the splash that covers your machine in layers of grit; it’s what happens when that mud gets inside your Can-Am Defender subwoofer box. A single muddy splash can block your port, choke your airflow, and leave your bass sounding like a wet boot slapping on the floorboard. Mud is every bit as destructive as water when it comes to audio systems, and protecting your ports and cones isn’t optional, it’s survival.
Port Design Modifications for Muddy Conditions
One of the smartest ways to keep mud out is by rethinking port direction. Instead of letting your port face forward into a wall of roost and creek spray, angle it downward. Gravity will do its thing and help keep most of the muck out. Pair this with a fine stainless-steel or marine mesh, and you’ll drastically improve Defender subwoofer port protection without sacrificing the airflow your subwoofer needs to breathe.
Cone Protection Without Sound Quality Loss
The subwoofer cone is like the heartbeat of your system, and mud is its worst enemy. Covering it with solid material kills the sound, but grills designed for marine use give you that sweet spot: impact resistance and airflow. Add a hydrophobic spray or coating, and suddenly your cone has an invisible shield. Your bass stays punchy, even after a muddy trail day.
Removable Covers and Cleaning Access
Finally, think long-term. Designing your box with removable covers or service hatches makes cleanup after a mud run far less painful. Instead of wrestling with a sealed box, you can open it up, hose out the gunk, and snap it back together. That’s the real-world side of Can-Am Defender subwoofer mud protection, not just stopping the mess, but making it easy to deal with when it inevitably shows up.
Professional Installation vs DIY Considerations
When it comes to installing a Can-Am Defender subwoofer box, one big question always comes up: should you do it yourself or leave it to the pros? The truth is, both options can work, if you know what you’re getting into.
Tools and Skills Required for Proper Installation
A proper install is more than just dropping in a box and running wires. You’ll need woodworking tools to build or trim the enclosure, wiring crimpers for solid connections, and a solid understanding of waterproofing to keep your system safe from creek crossings and mud. If terms like “line driver” or “Defender speaker box isolation” sound foreign, a professional shop may save you a lot of frustration.
Common Mistakes and How to Avoid Them
DIY projects often go sideways because of three major errors:
Forgetting to include drainage or venting in the enclosure.
Overpowering amps beyond the Defender amp power draw stator ratings can fry your electrical system.
Ignoring vibration control which leads to endless rattles and buzzing.
If you’re confident with tools and patient with details, DIY can be rewarding. Otherwise, a pro install ensures your Can-Am Defender audio upgrade lasts and performs the way it should.
Maintenance and Long-Term Durability
A Can-Am Defender subwoofer box isn’t a “set it and forget it” upgrade. Just like the machine it’s bolted into, your audio system needs regular care to keep performing at its best.
Seasonal Inspection and Cleaning Procedures
After every serious ride, especially a Defender subwoofer creek crossing, take a minute to check inside the enclosure. Even the best Defender audio system waterproof designs can let in a little moisture or mud over time. Inspect ports and vents for buildup, then clean them with compressed air or a damp cloth. Keeping these areas clear ensures steady airflow and prevents long-term damage to your cone and electronics.
Component Replacement and Upgrade Paths
No system lasts forever, and technology moves fast. Over time, you may notice your amp losing efficiency, your cone wearing out, or your bass not hitting like it used to. That’s the perfect time to swap components or even upgrade from a 10" to a 12" setup. Designing your box with modularity in mind ensures easy Can-Am Defender audio upgrade paths without starting from scratch.
Final Thoughts
A Can-Am Defender subwoofer box isn’t just an accessory, it’s a system that requires the right fitment, waterproofing, vibration control, and power management to perform on the trail. From preventing Defender under-seat subwoofer flooding to balancing Defender amp power draw stator loads, every detail matters. With the right setup, your Defender will sound just as mean as it rides. For expert-tested products, installation support, and proven durability, visit Dig Rig Powersports today or contact us, and let’s get your Can-Am Defender subwoofer box build started right.
-
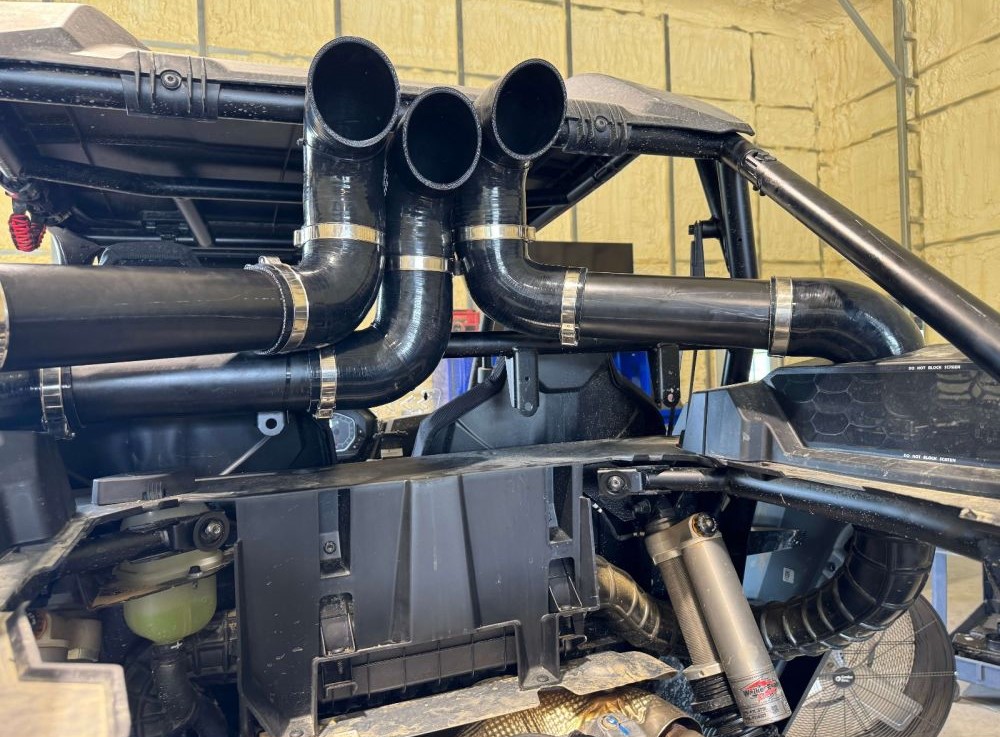
Can-Am CVT and Snorkel Maintenance Guide
 December 22, 2025
 -
Can-Am Defender Subwoofer Box Guide: Waterproofing, Fitment & Vibration Solutions
December 16, 2025
-
Honda CR-V Alternator
 December 15, 2025
 -
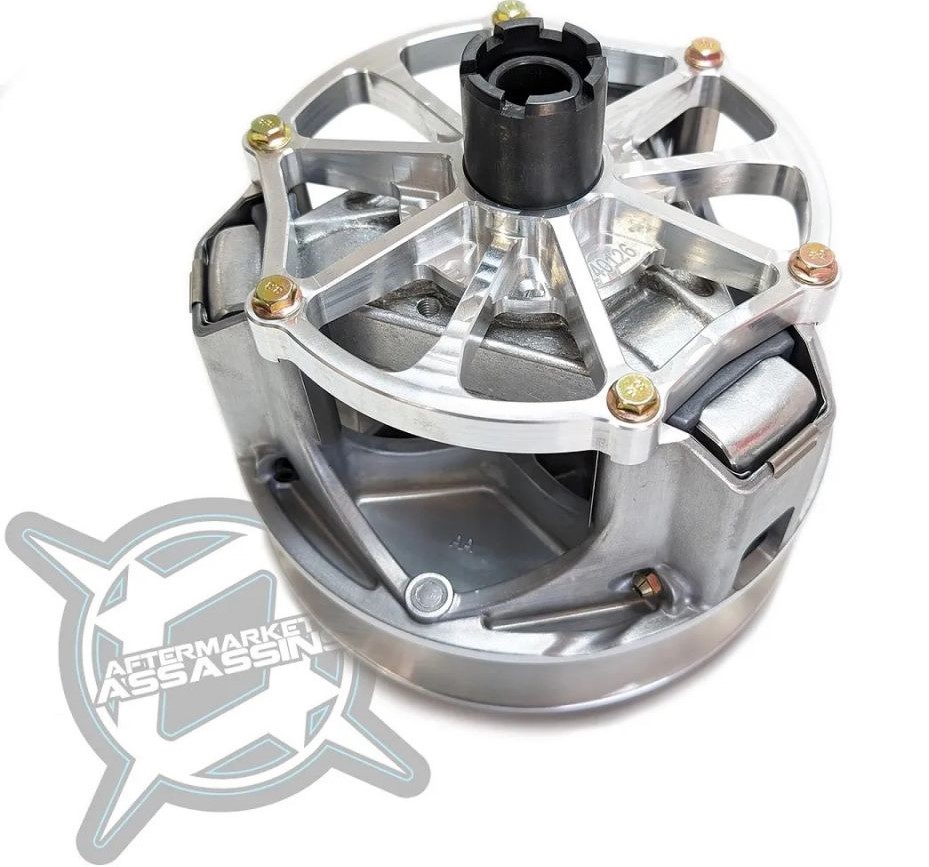
Aftermarket Assassins Primary Clutch Review: Billet vs Weight Kits Performance Analysis
 December 8, 2025
 -
How to Diagnose Electrical and ECU Problems in Your Can-Am
 December 3, 2025